
(updated August 11th, 2026)
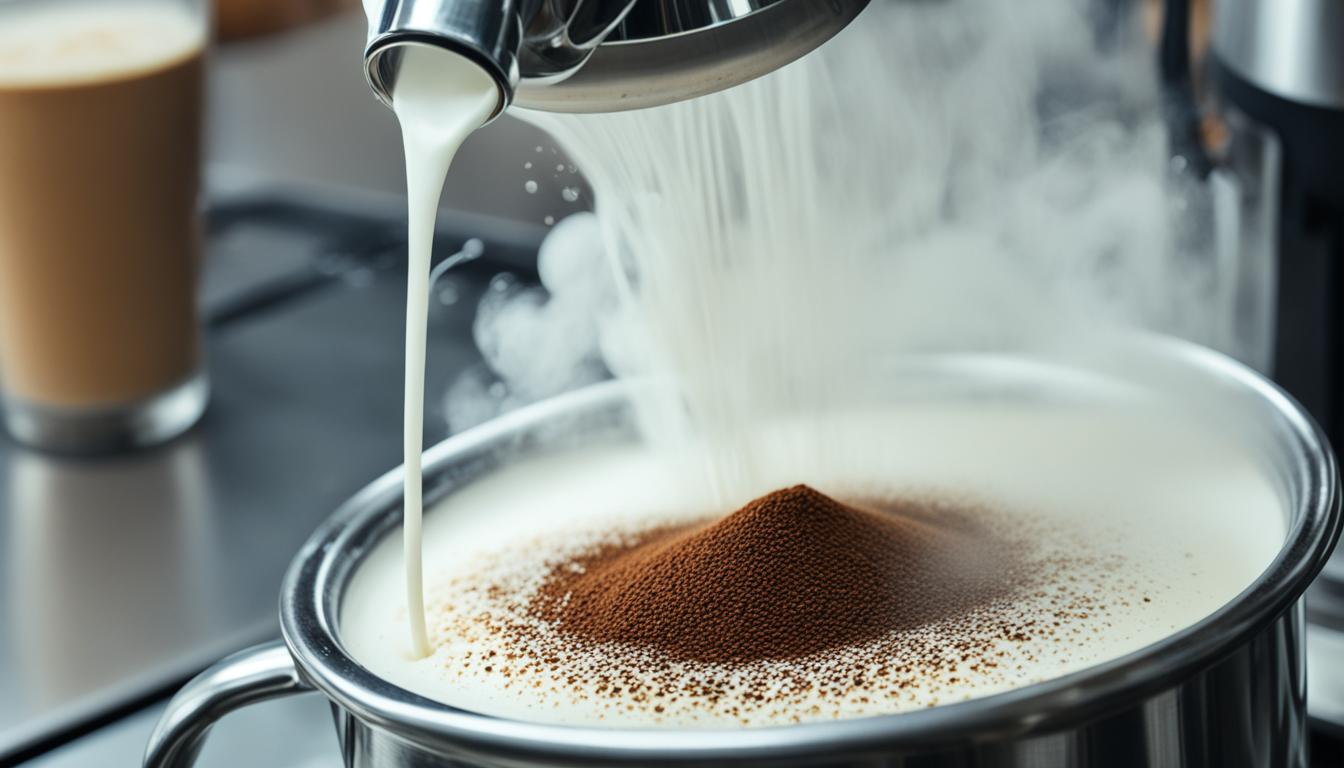
On most home espresso machines, steaming the milk for a cappuccino takes somewhere between 15 and 60 seconds. The spread is that wide because it depends almost entirely on how much steam power your machine has.
The more useful answer is that you are not steaming to a clock. You are steaming to a temperature, and you stop at 60 to 65°C (140 to 149°F) whether that takes you twenty seconds or a full minute.
The figure you will see quoted everywhere, five to ten seconds, is a real number attached to the wrong thing. It describes the few seconds you spend adding air at the very start, which is only the first stage of the job.
What Temperature Should The Milk Be?
Stop the steam at 60 to 65°C, or 140 to 149°F. That sits in the upper half of the Specialty Coffee Association’s range, which Perfect Daily Grind reports as 55 to 65°C (139 to 149°F), with a floor of 50°C and a ceiling of 70°C. Breville prints the narrower band in its own machine manuals: 140 to 149°F, reached at about the point the jug becomes hot to touch.
Sixty is the number to aim at, and the reason has nothing to do with heat. Professor Silvia Vincenzetti, who coordinated a University of Camerino study into milk quality in cappuccinos, put it plainly: “The optimal temperature should be around 60 degrees C because it is right here that the lactose is at the peak of its sweetness.”
Go past 70°C and the whey proteins unravel and release sulphur compounds, which is exactly where the cooked, faintly eggy taste of overheated milk comes from. The foam starts collapsing at the same time. Shut the steam off a few degrees early, because the milk carries on climbing after you close the valve.
| Milk temperature | What happens |
|---|---|
| Below 50°C (122°F) | Under-heated. Thin foam, and the drink goes cold quickly. |
| 55 to 65°C (139 to 149°F) | The recommended range. Fats are fully melted, foam is stable, sweetness peaks around 60°C. |
| 65 to 70°C (149 to 158°F) | Still drinkable, but you are trading away sweetness for heat. |
| Above 70°C (158°F) | Proteins denature. Cooked, sulphurous taste and the foam breaks down. |
How Do You Steam Milk For A Cappuccino?
There are two stages, and the order matters more than the timing: you add the air first, while the milk is still cold, then you spin it smooth.
- Fill a cold jug about a third full with cold milk, straight from the fridge. Milk only takes air on properly while it is cold, so starting warm costs you the window.
- Purge the wand for a second before you begin. That clears out condensed water you do not want in the milk.
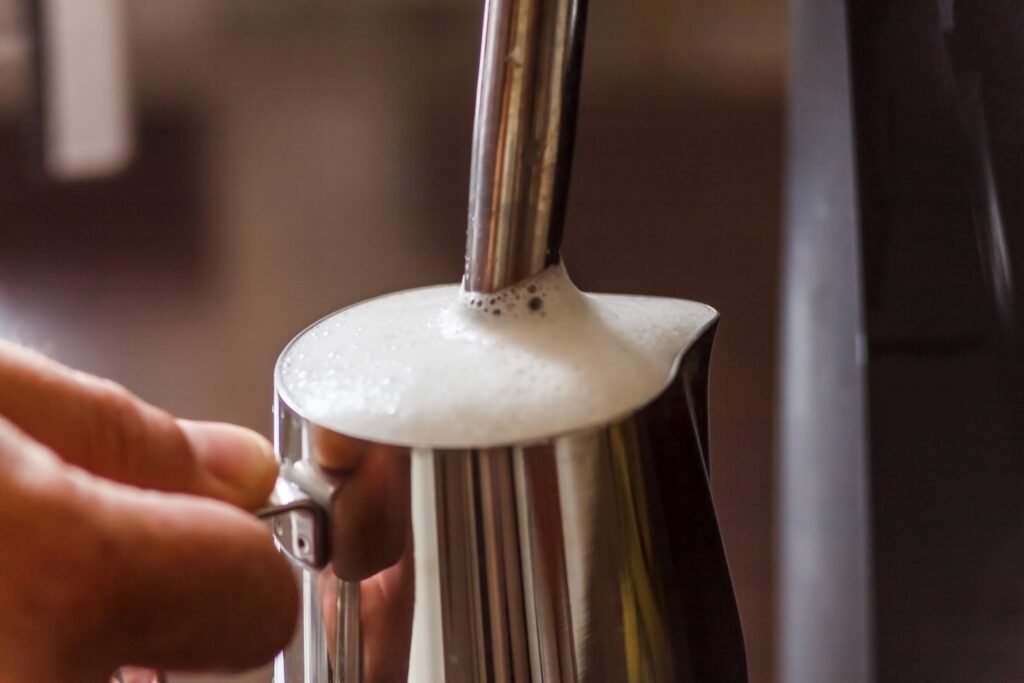
- Set the tip just below the surface, slightly off centre, and tilt the jug. Turn the steam on fully.
- Stretch the milk for about four to six seconds. You want a soft, rhythmic tearing sound, like paper ripping. This is the stage that makes the foam.
- Once the jug stops feeling cold, at roughly 37°C or body temperature, raise it so the tip sits deeper and the milk spins into a vortex. This breaks the big bubbles down into microfoam.
- Keep it spinning until the jug is hot to touch, then cut the steam. Turn it off before you lift the tip out, or you will spray bubbles across what you just made.
- Wipe and purge the wand immediately, then knock the jug on the counter and swirl it before pouring.
Steaming and frothing are the same job on an espresso machine, which is worth saying because the two words get used as though they were a choice. The wand heats the milk and drives air into it at the same time, so one stage runs into the next rather than being two separate tasks.
For a cappuccino you want a little more air than you would put into a latte, since you are aiming for roughly a centimetre of foam on top of a 150 to 180 ml cup. That is the difference between the two drinks: seconds of stretching, not a different technique.
Which Milk Is Best For A Cappuccino?
Whole milk, if you are making one at home. Caleb Cha, a World Latte Art Champion, summed it up as: “For the benefit of extra body, flavour and richness to a coffee, whole milk is the winner. I would only use skim milk on a customer’s request.”
It is worth knowing why, because the usual explanation has it backwards. Whole milk does not make more foam than skimmed. It makes less. Fat gets in the way of foam forming, which is why skimmed milk will give you a taller, stiffer head.
What whole milk gives you is smaller bubbles, and small bubbles are the whole point of microfoam. They are what make a cappuccino silky rather than dry and bubbly, and the fat carries the body and richness that skimmed milk cannot. Skimmed milk foam tends to sit on the coffee in a stiff lump rather than folding into it.
Fat is also less of a problem than the lab results suggest, because it only interferes with foam while it is semi-solid, between about 15 and 45°C. By the time you have reached serving temperature the fat has melted and, as Perfect Daily Grind puts it, will no longer destroy the foam.
What Is The Trick To Frothing Milk?
Tip depth, and the sound it makes. Everything else is downstream of getting that right.
Too deep and no air goes in, so you finish with hot milk and no foam. Too shallow and the wand screeches, tearing in large bubbles that never integrate and leave you with a dry, soapy-looking froth. The position you want sits between the two, and you find it by ear: a steady tearing sound, repeating, not a screech and not silence.
The other half of it is timing, and it is the mistake most people make at home. All the air has to go in during the first few seconds, while the milk is still cold. Once the jug has warmed past body temperature, adding air just gives you bubbles that sit on the surface instead of folding in. If your foam keeps coming out bubbly rather than glossy, you are almost certainly aerating too late rather than too long.
If it is going wrong and you cannot tell which way, steam a jug with a thermometer clipped to it a few times. Knowing what 37°C and 65°C actually feel like through the metal is worth more than any amount of reading, and after a handful of goes you will not need the thermometer again.